How to Remove Carpet Traffic Lanes

How to Remove Carpet Traffic Lanes

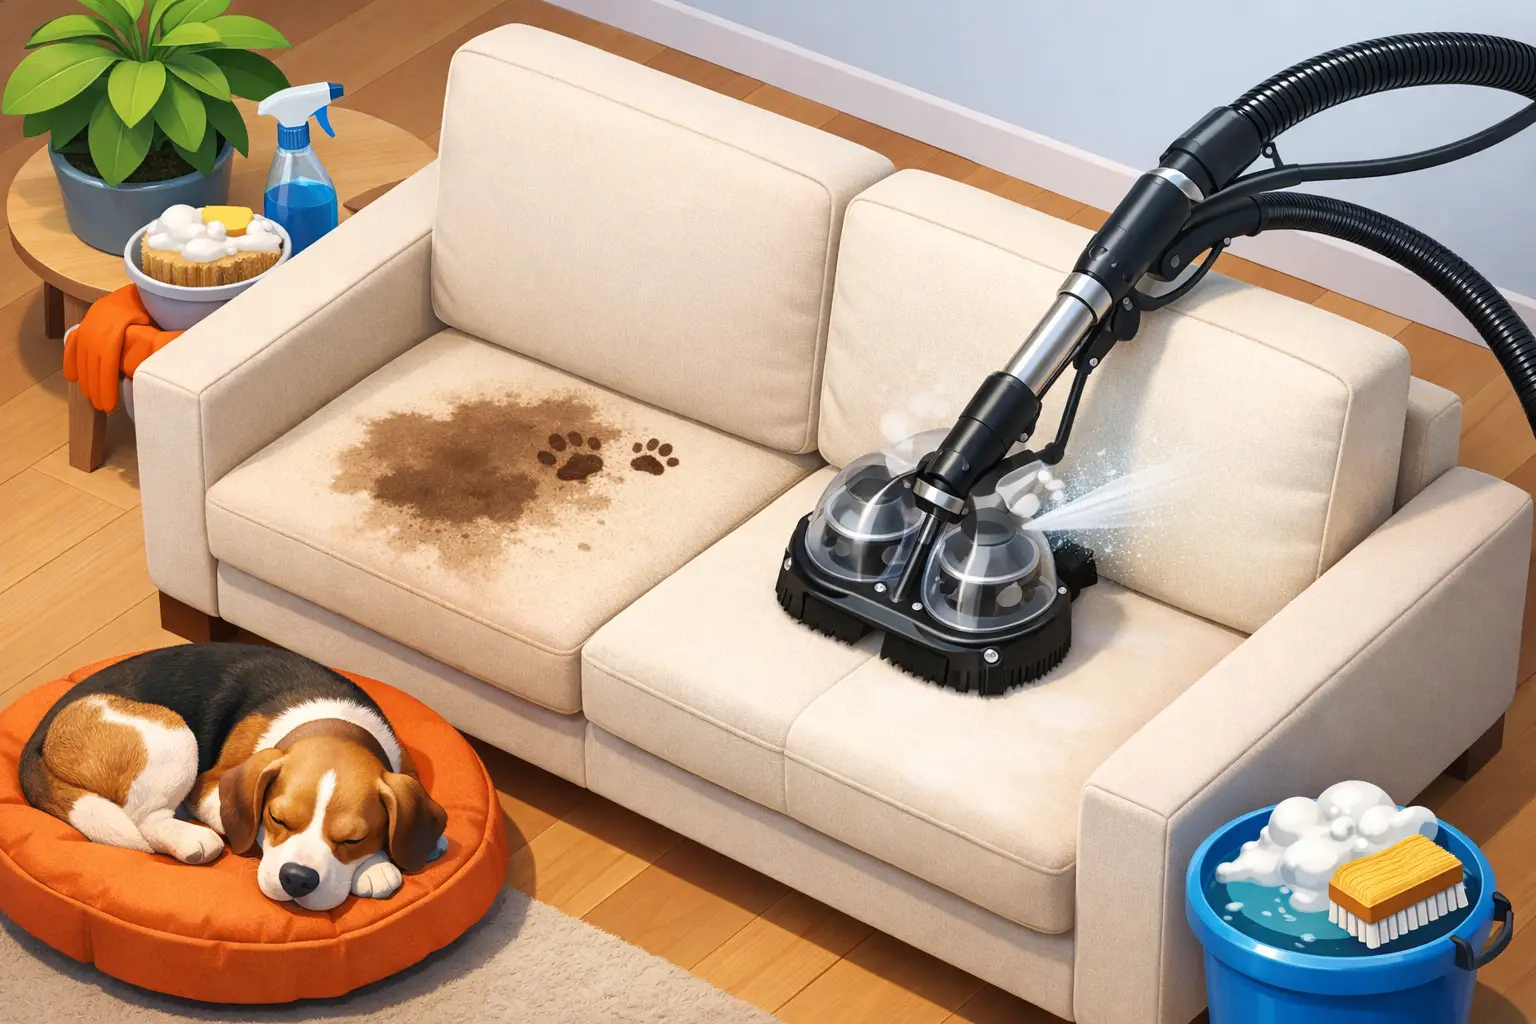
That dark path from the hallway to the living room is not your imagination, and it is not always “wear” in the way people think. If you are wondering how to remove carpet traffic lanes, the first step is knowing what you are actually looking at. In many homes, those gray or brown lanes are a mix of compacted fibers, oily residue, tracked-in soil, and fine grit that has settled deep into the carpet pile.

That matters because traffic lanes do not respond well to casual cleaning. A quick rental machine pass may lighten the area for a day or two, but if the soil load is still packed into the base of the carpet, the lane usually comes right back. The good news is that many traffic lanes can be improved significantly, and some can be restored far more than homeowners expect. The catch is that the right method depends on whether you are dealing with soil, fiber damage, or both.

What carpet traffic lanes really are

Traffic lanes form where feet hit the same path over and over. Hallways, stairs, bedroom entrances, and the space in front of sofas are the usual trouble spots. Over time, foot traffic pushes soil deeper into the carpet, flattens the pile, and grinds abrasive particles against the fibers.

That is why traffic lanes often look darker than the surrounding carpet even after vacuuming. Dry soil and oily residue hold onto each other. The more the carpet gets walked on, the more the fibers stay compressed, and the more obvious the lane becomes.

There is also an important difference between soiling and permanent wear. If the fibers are simply dirty and matted, cleaning and agitation can make a big difference. If the tips of the fibers are frayed, discolored, or crushed beyond recovery, cleaning can improve appearance but may not return the carpet to uniform color and texture.

How to remove carpet traffic lanes at home

If the traffic lane is moderate and the carpet is otherwise in fair shape, a careful DIY approach can help. The biggest mistake is over-wetting the area or using too much soap. Both can leave residue behind and make the lane resoil faster.

Start with a slow, thorough vacuuming. This is not a quick once-over. Make multiple passes from different directions to lift as much dry soil as possible before adding any moisture. If you skip this step, you can turn dry grit into muddy residue and push it deeper.

Next, apply a carpet pre-spray or traffic lane cleaner made for your carpet type. Do not soak the carpet. You want even coverage, not saturation. Let the product dwell for several minutes so it can break down oils and embedded soil.

Then agitate the area gently with a soft carpet brush. This step is where many homeowners see the difference between a surface clean and a real attempt at restoration. Agitation helps loosen the compacted soil from the pile. Be firm enough to work the cleaner in, but not so aggressive that you distort the fibers.

After that, extract thoroughly. A home carpet cleaner can help, but it has limits. Use warm water, take slow passes, and do extra dry passes to pull out as much moisture and residue as possible. If the machine leaves the carpet too wet, the backing can hold moisture longer than you think, and that can create its own problems.

Once the area is cleaned, groom the carpet pile with a carpet rake or brush and let it dry completely. If the lane looks better but not fully gone, wait until it is dry before judging the result. Some traffic lanes need more than one treatment, especially if they have not been professionally cleaned in a long time.

Why traffic lanes are hard to remove completely

This is where honest expectations matter. Not every lane can be cleaned back to perfect condition.

A true traffic lane usually has three issues at once. First, there is embedded soil. Second, there is pile distortion from repeated foot pressure. Third, there may be abrasion damage to the fiber itself. Cleaning can remove soil and improve texture, but it cannot reverse all fiber wear.

This is also why some lanes still look shadowed after cleaning. Homeowners sometimes assume the remaining mark means the cleaning failed. In reality, the soil may be gone, but the fiber has already been physically changed. The lane is cleaner, just not visually identical to untouched carpet.

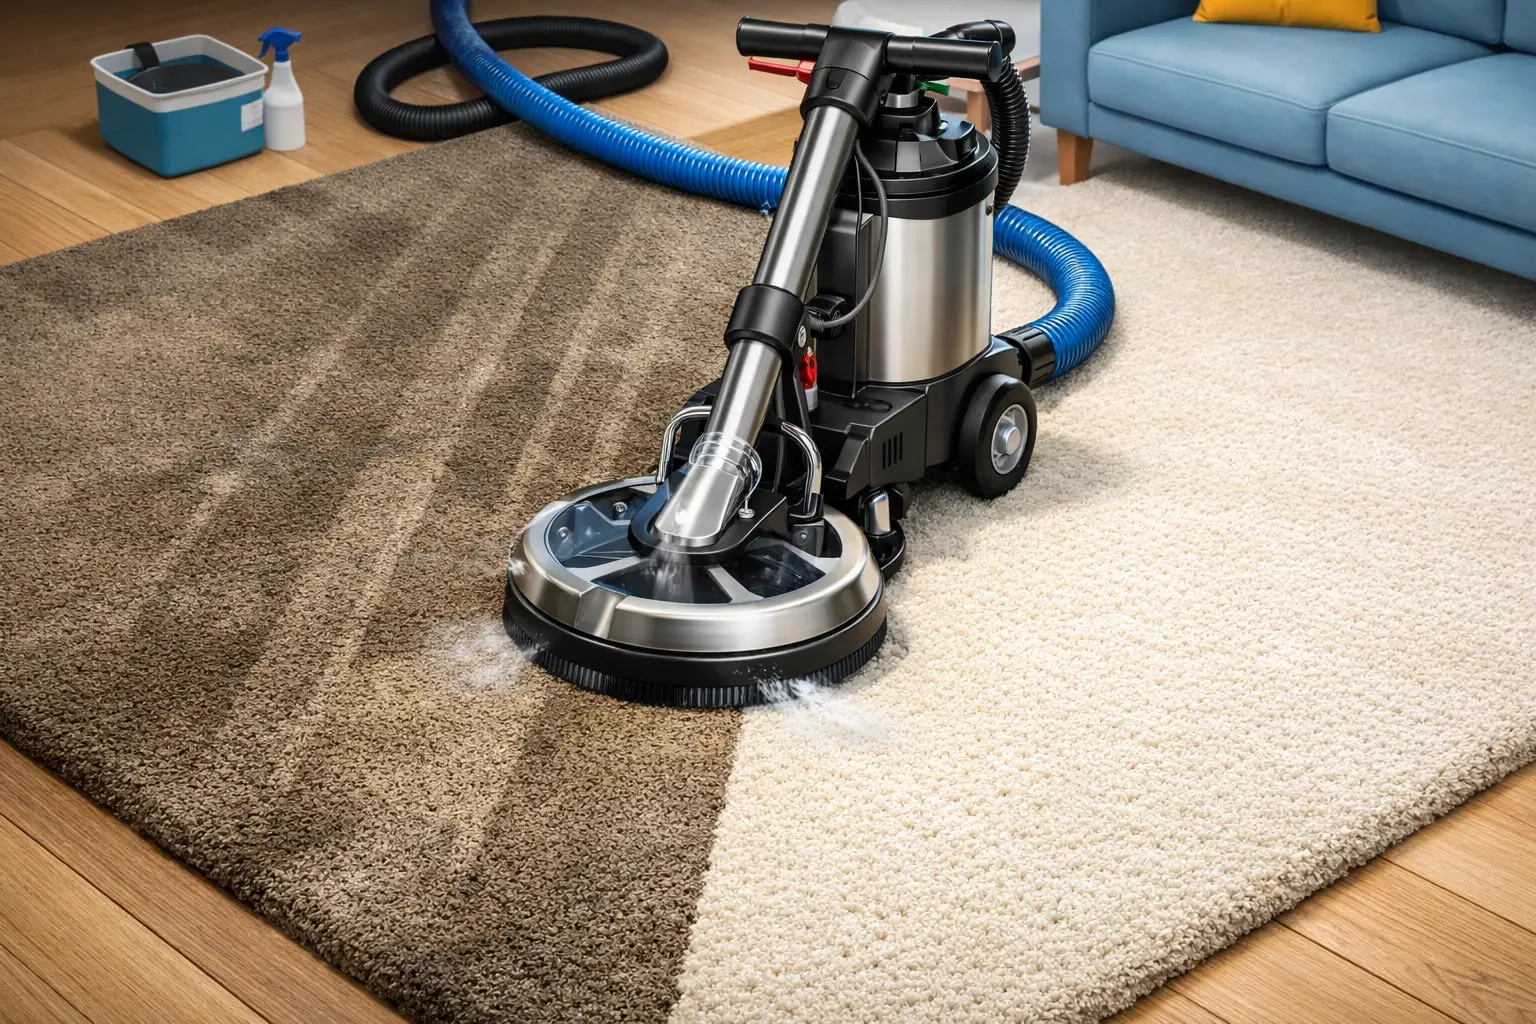
That said, heavily soiled traffic lanes often respond very well to professional restoration cleaning because the difference is not just the cleaning solution. It is the combination of stronger soil suspension, proper agitation, higher water recovery, and equipment that can flush and extract at a much deeper level.

When DIY is not enough

If you have already tried spot cleaners, rental machines, or repeated shampooing and the lane keeps returning, that is a sign the carpet needs a more thorough process. The same is true if the lane feels sticky, crunchy, or stiff. Those are often signs of detergent buildup mixed with soil.

Homes with kids, pets, or high daily foot traffic usually build up oily residue faster than people realize. That residue grabs onto fine dirt and darkens the walk path. In those cases, surface cleaning tends to improve appearance only temporarily.

Professional cleaning is also the smarter move if the carpet is wool, older, heavily matted, or installed in a large high-visibility area where uneven results will be obvious. A strong but controlled process matters more on those jobs than on a small closet or spare room.

How professional carpet traffic lane cleaning works

The best professional results usually come from a restoration-minded process, not a quick spray-and-go service. That means pre-inspection, fiber identification, targeted pre-treatment, mechanical agitation, hot water extraction, and careful grooming.

Traffic lanes often need extra attention before extraction even begins. A proper pre-spray breaks down oil and packed-in soil. Agitation tools help separate fibers and release debris that basic wand cleaning may leave behind. Then high-performance extraction removes suspended soil and rinses away residues more effectively than most consumer machines can.

On severely impacted areas, the technician may need multiple cleaning passes or specialty tools to get the lane as clean as the carpet will allow. That does not mean harsh treatment. In fact, one of the keys is balancing cleaning power with fiber safety.

At The One Carpet & Upholstery Cleaning, this kind of work is approached as restoration, not maintenance. Owner-operated service matters here because difficult traffic lanes are not something you want handed off to whoever is available that day. They need judgment, the right equipment, and realistic communication about what can be restored versus what is permanently worn.

Mistakes that make traffic lanes worse

A lot of carpets get damaged or left dirtier because the cleaning method was wrong for the problem. One common mistake is using too much detergent. Carpet does not need heavy foam to get clean. In fact, over-soaping is one of the fastest ways to create recurring traffic lanes because residue attracts new soil.

Another mistake is scrubbing aggressively with a stiff brush. That can fuzz or distort the fiber tips, especially on softer carpets. The lane may look rougher after cleaning, not better.

Over-wetting is another issue. If too much moisture gets into the carpet and padding, drying slows down and the area may wick soil back to the surface. This can leave a brown or gray shadow that looks like the lane never improved.

Finally, waiting too long is a problem. The longer traffic lanes stay in place, the more chance there is that dirt abrasion has already worn the fiber down. Early intervention gives you the best shot at a strong result.

How to keep traffic lanes from coming back

Once a traffic lane has been cleaned, maintenance matters. Regular vacuuming is the first line of defense, especially in hallways and entry routes. High-traffic areas need more attention than the rest of the room because soil does not spread evenly.

It also helps to treat spots quickly, use walk-off mats at entrances, and rotate furniture when possible so the same path is not getting all the use. If shoes stay on in the house, traffic lanes will build faster. That is just reality.

Professional cleaning on a sensible schedule also makes a real difference. Not because it is a luxury, but because high-traffic carpet needs periodic deep flushing before the soil load turns into visible lane damage. For busy households, waiting until the carpet looks bad usually means you are already behind.

If your carpet has dark walk paths that still stand out after vacuuming, do not assume replacement is the only option. Some traffic lanes are permanent wear, but many are a cleaning issue first. The key is using the right process before the carpet gives up more than it has to.

How to Clean Pet Stained Upholstery

How to Clean Pet Stained Upholstery

A pet accident on the couch usually turns into two problems fast – the stain you can see and the odor that keeps coming back. If you want to know how to clean pet stained upholstery without setting the stain deeper or damaging the fabric, the first few minutes matter more than most people realize.

The biggest mistake is going in too aggressively. Scrubbing hard, soaking the cushion, or grabbing the wrong cleaner can spread urine, push it into the padding, and leave behind a bigger odor issue than the original accident. Upholstery needs a controlled approach, especially if the fabric is delicate, textured, or older.

How to clean pet stained upholstery without making it worse

Start by blotting, not rubbing. Use clean white towels or paper towels and press firmly into the affected area to absorb as much moisture as possible. If the accident is fresh, stand on the towel for a few seconds to pull liquid out of the surface and into the towel. Repeat with dry sections until you are no longer lifting much moisture.

If solids are involved, remove them carefully first. Use a spoon or dull edge so you are lifting, not smearing. You want the area as clean and dry as possible before any solution touches the fabric.

Next, check the upholstery cleaning code if it is still attached to the furniture. A W code generally means water-based cleaners are acceptable. An S code means solvent-based cleaning only. WS can usually handle either, and X means vacuum only or professional cleaning only. This tag is small, but it matters. Ignoring it can cause water rings, color loss, or fabric distortion.

If the fabric can be cleaned with a water-based method, mix a small amount of clear dish soap with cool water, or use a fabric-safe upholstery cleaner that is labeled for pet accidents. Keep the solution light. More soap does not mean better cleaning. Too much product can leave residue that attracts dirt and makes the area feel stiff.

Dampen a clean cloth with the solution and blot the stain from the outside inward. That helps keep the spot from spreading. Work slowly. You are trying to lift contamination, not flood the cushion. Once the stain starts releasing, switch to a separate cloth dampened with plain cool water and blot again to remove cleaner residue.

Then blot dry with fresh towels. If possible, place a dry towel over the area and apply pressure again to pull remaining moisture up and out. Air circulation helps a lot here. A fan aimed at the spot can speed drying and reduce the risk of lingering odor.

The odor problem is usually below the surface

This is where many DIY jobs fall short. The visible stain may come out, but pet urine often travels deeper than the fabric face. It can soak into the cushion insert, the batting, or the frame if the accident was heavy or left sitting too long. That is why a couch can smell clean at first and then start giving off odor again as humidity rises or someone sits down.

An enzyme-based pet treatment is often the right next step for urine odor. These products are designed to break down the organic matter causing the smell instead of just covering it. Used correctly, they can be effective. Used poorly, they can leave a wet ring, over-wet the cushion, or only treat the top layer.

Apply the enzyme treatment according to the label, but be realistic about what it can and cannot do. If the urine has penetrated deep into thick cushions, surface application may not fully solve the problem. In those cases, professional extraction is usually the better answer because it removes contamination instead of trying to neutralize it from above.

Stain type changes the method

Not all pet stains behave the same way. Urine is the most common and usually the most persistent because it carries both staining compounds and odor-causing bacteria. Vomit brings acidity and can discolor certain fibers if it sits too long. Fecal accidents are more about sanitation and careful removal, especially on woven or textured upholstery where residue can settle into the fabric.

That is why one all-purpose cleaner is not always enough. A fresh urine spot on a synthetic couch is one thing. An old, dried stain on a natural fiber blend is another. The fabric, age of the stain, and how many times someone has already tried to clean it all affect the result.

Light-colored upholstery also needs extra care. It may show every ring and shadow left behind by over-wetting or incomplete rinsing. On these pieces, restraint matters. Controlled blotting and minimal moisture are usually safer than a heavy-handed cleaning attempt.

What not to use on pet stained upholstery

A few products cause more problems than they solve. Avoid bleach unless the manufacturer specifically allows it, which is rare for upholstery. It can strip color, weaken fibers, and set you up for permanent damage. Strong ammonia-based cleaners are also a bad idea around pet urine because the smell can encourage repeat marking.

Steam should be used carefully as well. High heat can set some stains and odors, especially protein-based contamination, if the area has not been properly treated first. Over-the-counter carpet shampoos can also be too heavy for upholstery, leaving residue and over-wetting the padding.

Homemade vinegar solutions are common advice, and sometimes they help with mild odor at the surface. But they are not a cure-all. On certain fabrics, vinegar can affect dye stability or leave a lingering smell of its own. If you do test a mild vinegar mix, always do it in an inconspicuous area first and never soak the furniture.

When DIY is enough and when it is not

A fresh, small accident on a durable fabric can often be handled at home if you move quickly and use the right method. That is the best-case scenario. The stain has not set, the odor has not traveled deep, and the fabric can tolerate controlled moisture.

But there are clear situations where professional cleaning makes more sense. If the odor keeps returning, if the stain is old, if the cushion was heavily saturated, or if the upholstery is wool, cotton blend, linen, velvet, or a specialty fabric, the risk goes up. The same is true if you see browning, water rings, or signs that previous DIY attempts have pushed the stain wider.

Professional upholstery cleaning is not just about stronger chemicals. The real advantage is the combination of correct chemistry, fabric knowledge, and extraction equipment that can flush and recover contamination far more effectively than towels alone. On difficult pet issues, that difference matters.

Owner-operated companies that specialize in restoration-style cleaning also tend to be more careful with evaluation. That is important because not every couch should be treated the same way. A trained technician should look at the fiber type, stain source, cushion construction, and level of penetration before choosing a method.

For homeowners dealing with recurring pet odor in Vancouver and the Lower Mainland, this is where an experienced service can save time and frustration. The One Carpet & Upholstery Cleaning handles problem upholstery with the same restoration mindset used on advanced carpet stain work – careful inspection, proper product selection, deep extraction, and results that are aimed at the source rather than the surface.

How to protect upholstery after cleaning

Once the area is clean and fully dry, keep an eye on it for a day or two. Some stains wick back from below the surface as moisture evaporates. If that happens, it does not always mean the cleaning failed. It usually means contamination remained deeper in the cushion and has resurfaced. A light repeat treatment may help for a minor issue, but repeated wick-back is often a sign the piece needs professional attention.

You can also make future accidents easier to manage by using washable throws in favorite pet spots and cleaning up incidents immediately. If your pet has started returning to the same area, the odor is probably still there at a level they can detect even if you cannot. That is another sign the job may need deeper treatment.

Fabric protector can help on some upholstery, but it is not magic. It buys you time by slowing absorption. It does not stop pet urine from becoming a problem if it is left sitting. Quick response still matters more than any aftercare product.

A clean couch should smell neutral, feel clean to the touch, and dry evenly without rings or crunchy residue. If you are not getting that result, step back before trying stronger products. The right fix is usually a more precise process, not a harsher cleaner.

Pet accidents are part of living with animals people love. The goal is not perfection. It is knowing when a careful home cleanup is enough and when the smarter move is getting the stain and odor treated properly before they settle in for good.